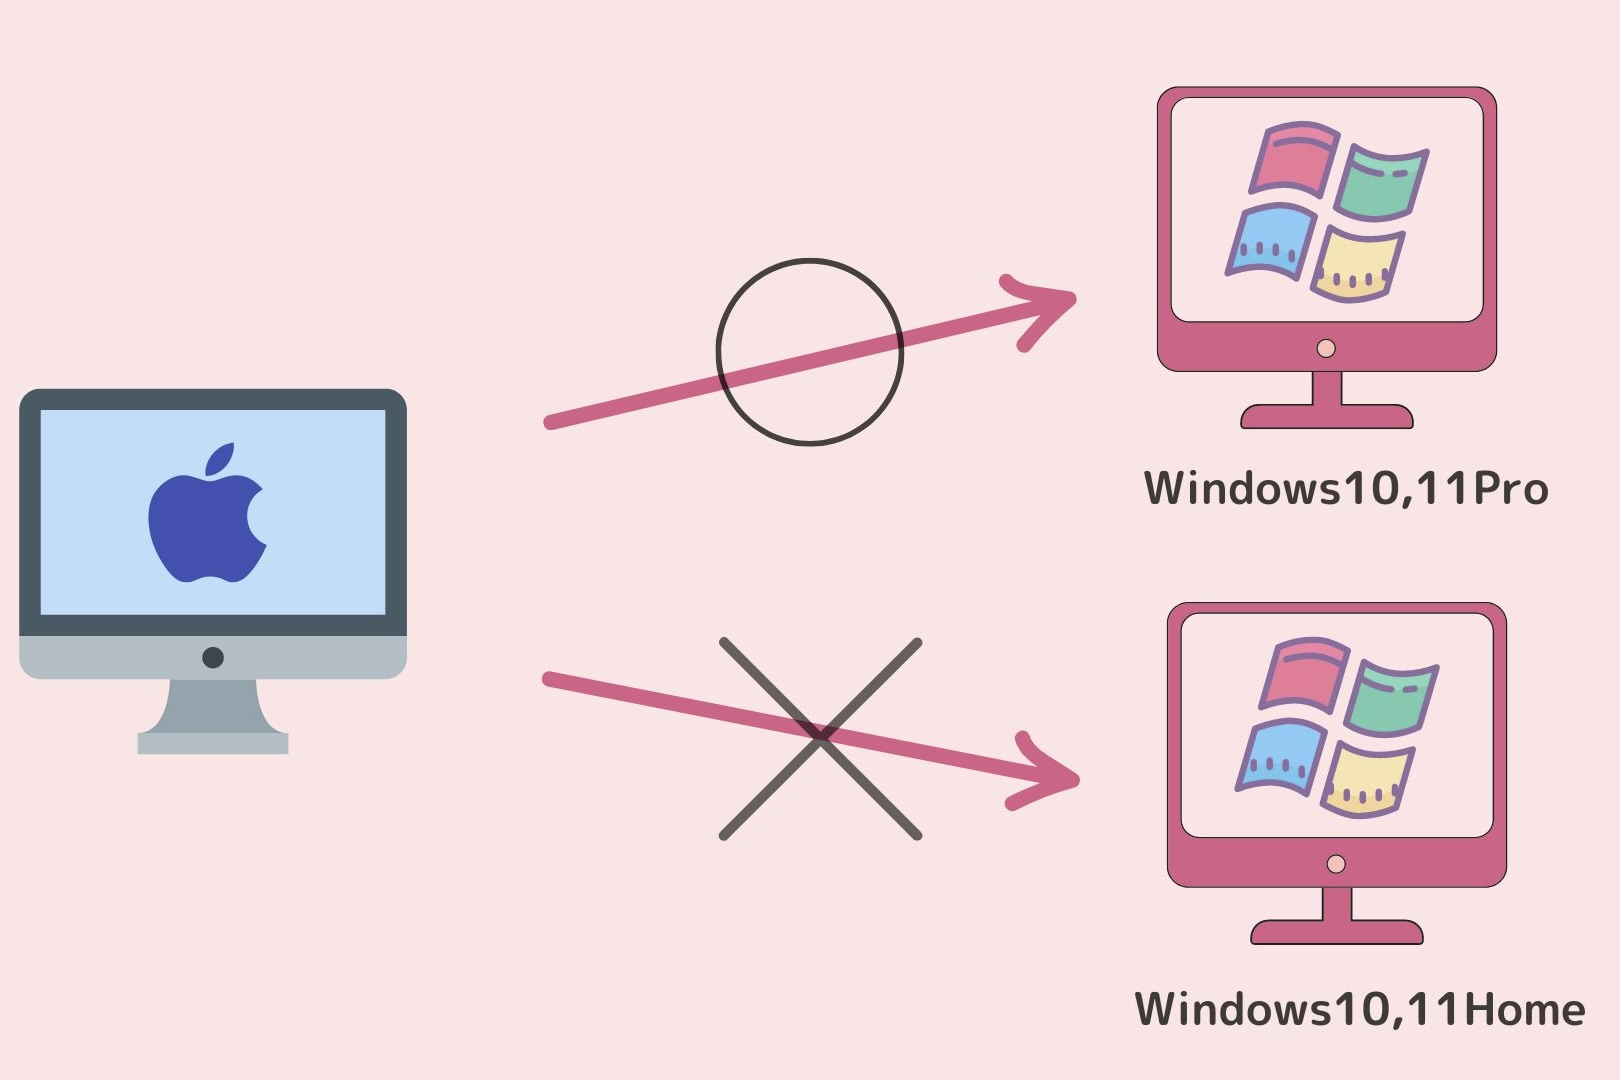
WindowsのHome版とPro版では機能に違いがありますが、そのうちのひとつがリモートデスクトップ接続です。
Windows Homeはデフォルト設定で、リモートデスクトップ接続が許可されていません。
しかし、RDP Wrapper Libraryを使用すれば、簡単に接続許可ができます。
そこで今回は
- RDP Wrapper Libraryとは?
- Windows Homeでリモートデスクトップ接続を行う方法
について解説します。
なお、Windows11を使って実演しますが、Windows10も同様の方法でリモートデスクトップ接続が可能です。
RDP Wrapper Libraryでリモートデスクトップ接続制限を解除

RDP Wrapper Libraryとは、Microsoftが制限しているリモートデスクトップ機能を解除するオープンソースソフトウェアです。
GitHub上で公開されており、主にWindows Homeのリモートデスクトップ機能の制限を解除するために使われます。
ただしMicrosoftが公式にサポートしていないため、自己責任で使用する必要があります。
WindowsHomeでリモートデスクトップを行う方法
以下、RDP Wrapper Libraryを使ってWindows Homeのリモートデスクトップ接続の制限を解除する方法について解説します。
RDP Wrapper Libraryのダウンロード
まずは、RDP Wrapper Libraryをダウンロードするため、以下にアクセスします。
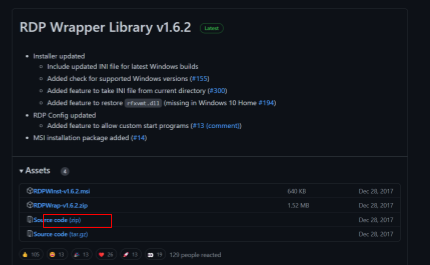
「RDPWrap-vX.X.X.zip」をダウンロードします。
※Chromeだとダウンロードがブロックされる可能性があるため、Edgeなどを利用しましょう。
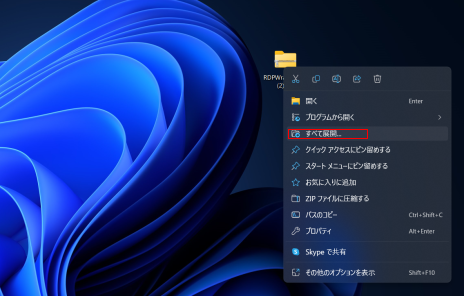
右クリックから「すべて展開」を選択します。
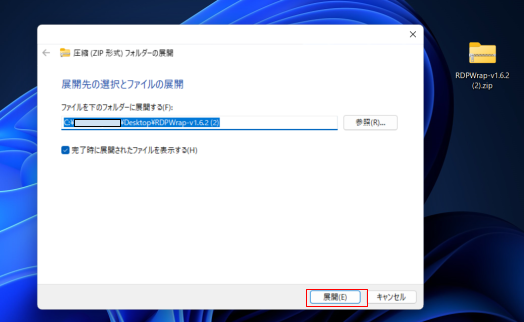
「展開」を選択します。
RDP Wrapper Libraryのインストール
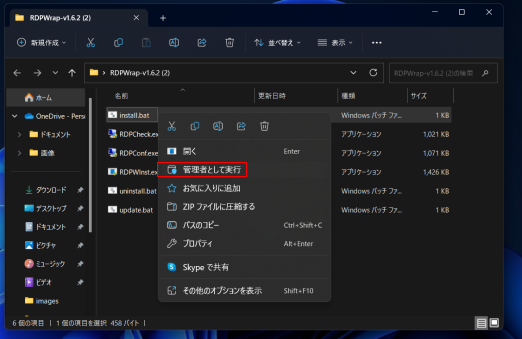
展開したフォルダを開きます。
「install.bat」を選択し、右クリックから「管理者として実行」を行います。
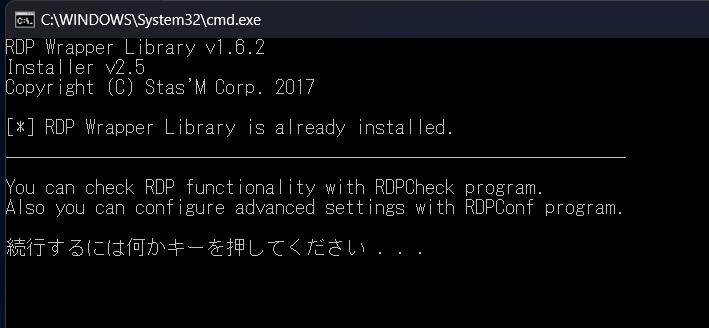
コマンドプロンプトの画面が表示されます。
何かキーを押して下さい。
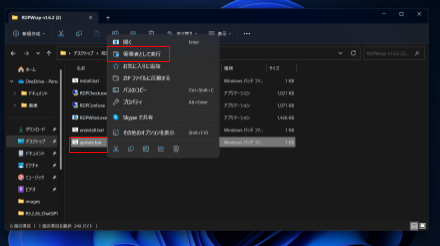
次に「update.bat」を管理者として実行します。
この時もコマンドプロンプトの画面が表示されます。

「RDPConf.exe」を選択し、右クリック⇒「管理者として実行」を行います。
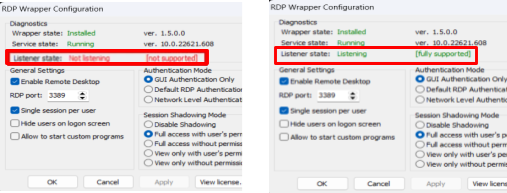
インストール完了したら画像左のように【Listener state: Not listening / not supported】と表示されます。
※画像右のように【Listener state:Listening/ fully supported 】と表示されればリモートデスクトップ接続が可能な状態です。
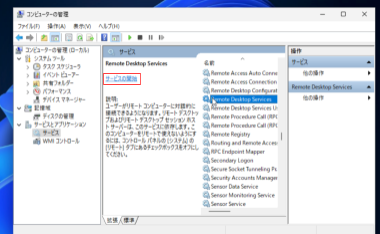
リモートデスクトップサービスの停止
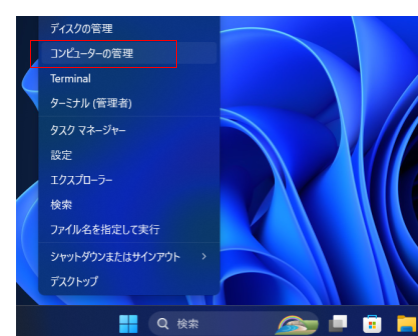
スタートボタンを右クリックし、「コンピュータの管理」をクリック。
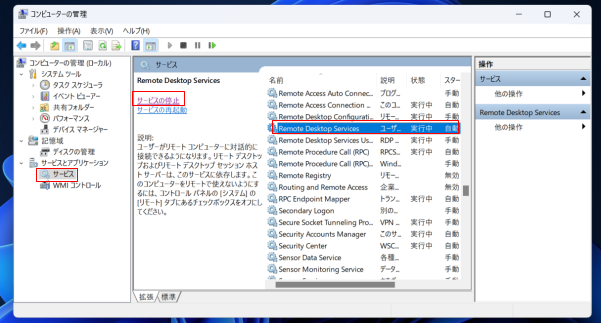
サービスから「Remote Desktop Service」を選択し「サービスの停止」をクリック。
ndpwrap.ini ファイルのダウンロードと配置
↑上記リンクを右クリックし「名前をつけて保存」を行います。
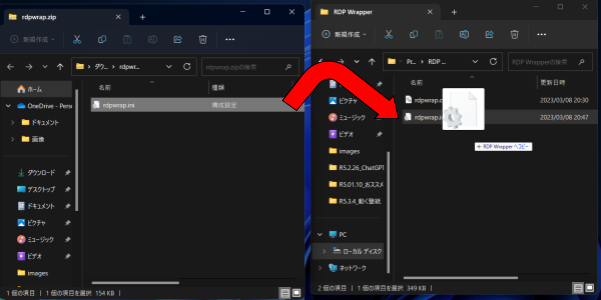
「ndpwrap.ini」がダウンロードされているため、C:Program Files¥RDP Wrapperの中に、「ndpwrap.ini」を移します。
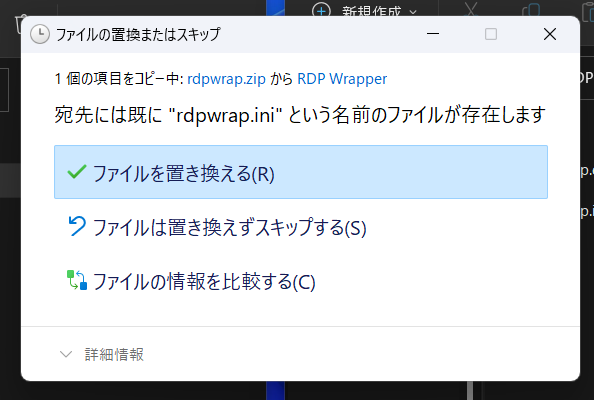
「ファイルを置き換える」を選択します。
リモートデスクトップサービスの再開と接続確認
再度コンピュータの管理を開き、「Remote Desktop Services」の「サービスの再開」を行います。
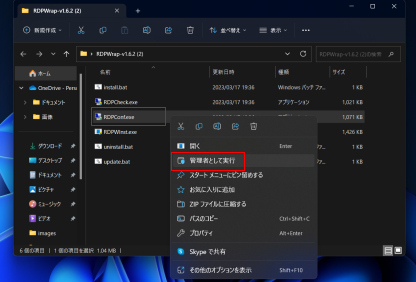
「RDPConf.exe」を選択し、右クリックから「管理者として実行」を行います。
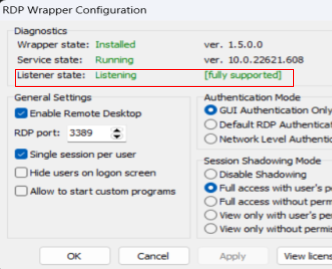
上画像のような状態になっていたら、リモートデスクトップ接続が可能な状態です。
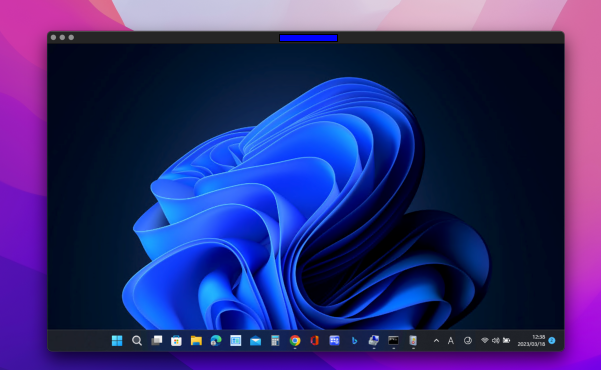
「Microsoft Remote Desktop」を使って、Macからのリモートデスクトップ接続に成功しました。
まとめ
今回の記事の手順をふめば、WindowsHomeでもリモートデスクトップ接続ができるようになります。
テレワーク、リモートワークが求められる中で、リモートができずに困っている人も多いのではないでしょうか?
Windows Homeでリモートデスクトップ接続を可能にするために、記事を参考に設定を行ってください。


コメント